Injuries can happen anywhere and at any time. If you find yourself with a broken bone, it is important to know how to splint it properly so that the injury does not get worse. In this blog post, we will discuss how to splint a broken bone in the wild using materials that are readily available. Follow the tips below to ensure you know how to help yourself and others stay safe!
How to Start a Splint - Step One
A splint is a rigid material used to set, support and immobilize a broken bone. A splints main purpose is to help protect the area from further damage. While broken bones can be scary, the faster you treat them, the better it will be! The first step to creating a splint is to find an object for the main support of the splint. Depending on where you are located and what activity you were doing at the time this can be anything from: a stick, to a ski or hiking pole, to canoe paddles, or driftwood, a rolled up newspaper, even cooking utensils! The main requirement of a splint is that the objects used are straight in order to protect the bone.
Don't Forget the Padding - Step Two
Once you have found something that can be used as a splint, the next step is to find something to use as padding. This can be leaves, moss, towels, socks, gloves, stuffing from pillows or a sleeping bag. Anything to cushion between the break and the splint. The padding can either be attached to the splint itself or stuffed in between the splint and broken bone.
Time to Tie - Step Three
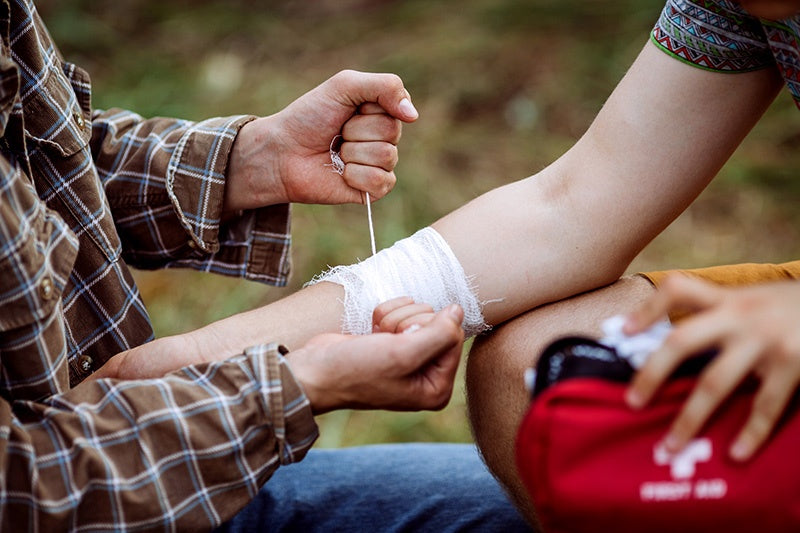
The final step of creating a splint is to tie it into place. A few options are: tape, rope, belt, shoelaces, life jacket straps, socks or any piece of clothing that is long enough to tie around the splint and broken area.
Once you have collected everything for the splint, it is time to apply! It is important to note that you should not try to straighten the bone or re-set it on your own. You may cause more damage to the area or internal bleeding. The splint is going to support the broken area by being placed on the joint above the injury and the joint below it. Try not to apply pressure, just let the splint rest on the two joints.
For example, if you’re splinting a shin, place the support object under the shin and then tie or tape it just below the ankle and above the knee tight enough not to shift with the padding in between. This will support the section of the break with no additional pressure to the area. Make sure circulation is flowing easily and the ties do not pinch! After the splint has been successfully created and applied, you should get to a hospital or emergency center immediately for further treatment. Stay safe!
ABOUT US: INVEST IN SURVIVAL
At Invest In Survival, we are committed to getting you what you need when you need it, and where it matters! We look forward to serving you to keep you supplied with the necessary tools, gadgets, and Information to keep you functioning through ANY emergency.
Our goal is to help you prepare in advance to survive any disaster with the appropriate Emergency Response and Emergency Recovery tools and supplies. We always keep an eye on the latest trends in the market, global events, and customer desires. That is why we have satisfied customers all over the world, and are thrilled to be a part of the Disaster Relief community.